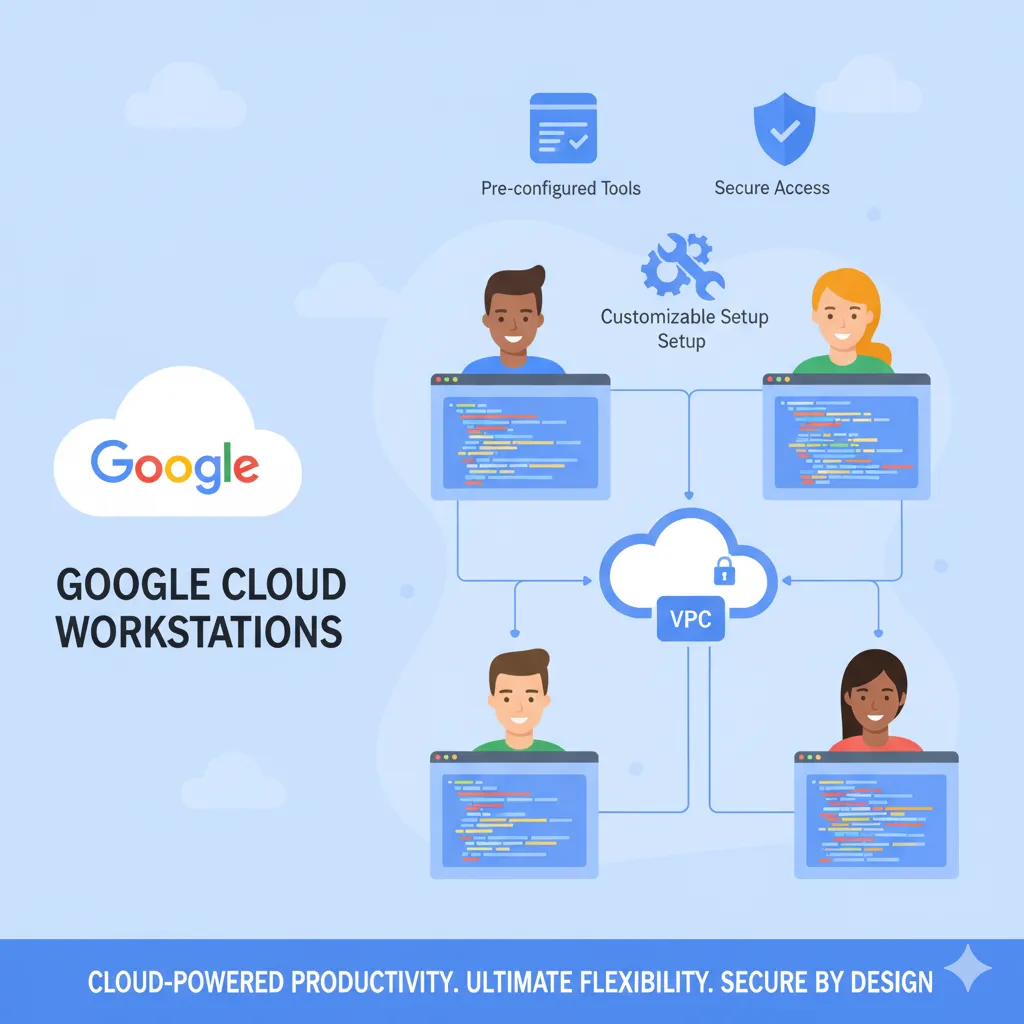
There are multiple ways to solve the dev environment question, whereas having a local development environment may be superior to any other setup, but a cloud-based environment that is close to your workloads has its set of benefits as well.
Local vs Cloud environment
Performance and smoothness of your local environment is something no other setup can beat (assuming you have good-enough hardware) but even with top-notch hardware you will face a lot of tedious things to set up, configure and follow to make your environment ready. To name a few — configure and whitelist your IP to talk to the databases or maybe configure VPN. Install a particular version of Python or Node JS your team is working with and don’t forget about all the extensions in your favourite IDE to make it a smooth ride. And don’t forget that you may need some specific piece of software that only runs under a particular operating system or maybe can’t run outside of a secure perimeter.
On the other hand, a cloud-based and repeatable setup may give you peace of mind with the majority of these. You can have the VMs whitelisted for proper access from the get-go without having to ask anyone for extra assistance. You may install all your favourite or just required toolsets and you can also pre-package extensions of your choice and build them into the setup.
Google Cloud Workstations customizable setup
Google Cloud Workstations provide a way to build exactly that setup for your engineers that gives you the ability to create different configurations with the desirable runtime container with all the things you need. Workstations are managed by Cloud Workstations control plane, but the virtual machines themselves reside in your VPC so you can control what and how they can access in your setup. You can e.g. disable public IP for a VM and configure Cloud NAT to ensure smooth access to restricted resources.
Minimal Google Cloud Workstations setup with Pulumi
In order to give it a taste and spin it up ASAP, we’ll go with a minimal setup while still utilizing infrastructure best practices by using Pulumi for our infrastructure as code and TypeScript to have a coherent dev-friendly setup. We will also use Bun for its ease and speed (you can use any other environment of choice).
Check out the complete setup here.
Bootstrapping a project
In order to bootstrap a new Pulumi project we’ll need Pulumi CLI and Bun CLI and gcloud CLI:
curl -fsSL https://get.pulumi.com | bash
curl -fsSL https://bun.com/install | bash
curl -fsSL https://sdk.cloud.google.com | bash
You will also need to create a Pulumi account and login with:
pulumi loginIf you haven’t done this before, you’ll need to log in with application-default credentials in gcloud CLI:
gcloud auth application-default loginAnd now either create a new GCP project or set the one you’re willing to use:
gcloud projects create <my-project-id> --name="My project Name"
# OR
gcloud config set project <my-project-id>
Now here’s how you can bootstrap a project using Pulumi CLI:
mkdir gcp-cloud-workstations && cd gcp-cloud-workstations
pulumi new typescript \
  --language=typescript \
  --runtime-options=packagemanager=bun \
  --name=gcp-cloud-workstations \
  --description='Minimal setup of the GCP Cloud Workstations with Typescript and Bun' \
  --stack=main
You can also just use plain pulumi new typescript and follow the project creation wizard. So in the abovementioned command we’ve asked Pulumi to create a TypeScript-based project with Bun as a package manager with a defined name, description and stack name.
It will take care of creating index.ts, tsconfig and package.json as well as Pulumi.yaml.
Let’s now add the @pulumi/gcp provider:
bun add -E '@pulumi/gcp'And set the required project ID config for the provider:
pulumi config set 'gcp:project' <my-project-id>We’re all set to start writing up our infrastructure as code now.
Adding IaC to the project
Let’s start by defining a dedicated GCP provider instance in our code.
import * as gcp from "@pulumi/gcp";

const region = "us-central1";
const gcpProvider = new gcp.Provider("gcpProvider", {
  project: gcp.config.project,
  region: region,
  defaultLabels: { team: "devops" },
});
It’s a recommended best practice that will ensure that all our resources are created with particular defaults and also has a handy feature such as adding labels to all eligible resources.
Enabling GCP services
If you’re going to add Cloud Workstations into a new GCP project, one will need the required GCP services to be enabled. We can do that from code as well. new gcp.projects.Service creates a service resource that manages enablement of services in GCP.
const enableServices = (services: string[]) => {
  return services.map((service) => {
    return new gcp.projects.Service(
      service,
      {
        service: service,
        project: gcp.config.project,
      },
      { provider: gcpProvider },
    );
  });
};

const requiredServices = [
  "compute.googleapis.com",
  "workstations.googleapis.com",
];

const services = enableServices(requiredServices);
You can also enable services using the gcloud CLI if you don’t want to have this managed with IaC:
gcloud services enable compute.googleapis.com workstations.googleapis.comSetting up Workstations cluster and configuration
Now when the services are enabled, we can configure the workstations and related resources.
export default async function main() {
  const wsNetwork = new gcp.compute.Network(
    "wsNetwork",
    {
      autoCreateSubnetworks: false,
    },
    {
      provider: gcpProvider,
      dependsOn: services,
    },
  );
  const wsSubnetwork = new gcp.compute.Subnetwork(
    "wsUsCentral1Subnet",
    {
      network: wsNetwork.id,
      region: region,
      ipCidrRange: "10.128.0.0/20",
    },
    {
      provider: gcpProvider,
      parent: wsNetwork,
    },
  );
  const wsCluster: gcp.workstations.WorkstationCluster =
    new gcp.workstations.WorkstationCluster(
      "developmentCluster",
      {
        workstationClusterId: "test-cluster",
        network: wsNetwork.id,
        subnetwork: wsSubnetwork.id,
        location: region,
        displayName: "Test Cluster",
        annotations: {
          description: "Minimal cluster for testing",
        },
        labels: {
          purpose: "test",
        },
      },
      { provider: gcpProvider, dependsOn: services },
    );
  const wsMinimalConfig = new gcp.workstations.WorkstationConfig(
    "wsMinimalConfig",
    {
      workstationConfigId: "minimal-config",
      workstationClusterId: wsCluster.workstationClusterId,
      location: region,
    },
    { provider: gcpProvider, dependsOn: services },
  );
  return {
    wsCluster: wsCluster.name,
    wsConfig: wsMinimalConfig.name,
  };
}
The export default function main gives us flexibility in using await inside our infrastructure code and also works as an entry point for Pulumi. The returned object will be converted to stack outputs.
First, we define a GCP VPC network and subnetwork — this will keep our cluster isolated from the start and that’s where the virtual machines are going to be created.
Then we define a WorkstationCluster itself — this creates a new control plane of Cloud Workstations that manages instances.
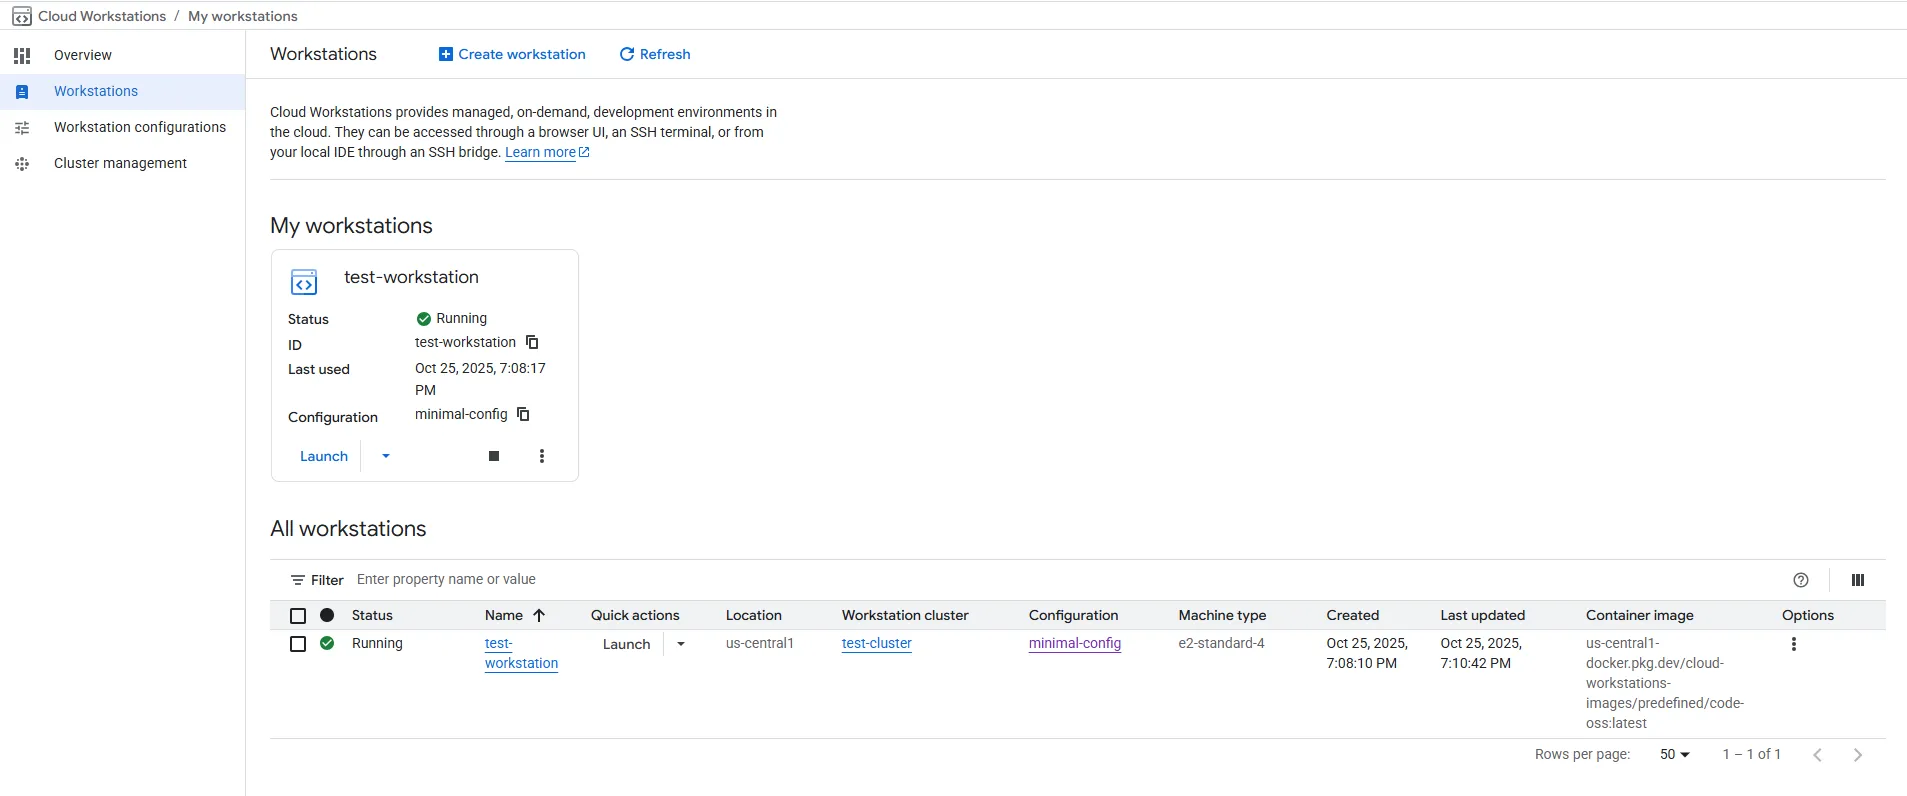
The WorkstationConfig is a template for creating new virtual machines. The very minimal one as we have here just specifies the cluster to work with and the location. It will use Code OSS IDE by default, provision e2-standard-4 virtual machines and use the project-default Compute Engine service account to run the VMs.
Now all that’s left is to call pulumi up and see how your first workstations cluster is going to be created.
Adding workstations
You can now add workstations with the same IaC setup using the following snippet:
  const workstation = new gcp.workstations.Workstation(
    "test-workstation",
    {
      workstationId: "test-workstation",
      workstationConfigId: wsMinimalConfig.workstationConfigId,
      workstationClusterId: wsCluster.workstationClusterId,
      location: region,
    },
    { provider: gcpProvider, dependsOn: services },
  );
Or you can as well let your engineers create workstations using Google Cloud UI.
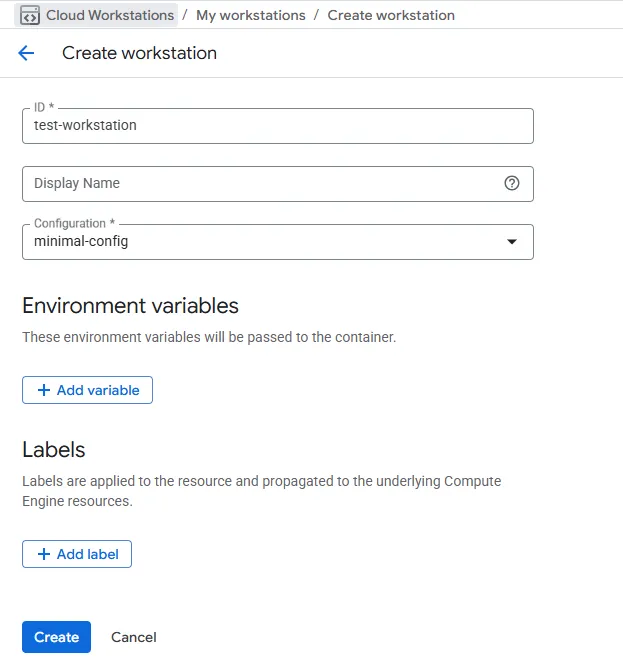
Or using gcloud:
gcloud workstations create test-workstation \
  --cluster=test-cluster \
  --config=minimal-config \
  --region=us-central1
Here is what the complete setup script looks like (also available as a gist):
import * as gcp from "@pulumi/gcp";

const region = "us-central1";
const gcpProvider = new gcp.Provider("gcpProvider", {
  project: gcp.config.project,
  region: region,
  defaultLabels: { team: "devops" },
});

const enableServices = (services: string[]) => {
  return services.map((service) => {
    return new gcp.projects.Service(
      service,
      {
        service: service,
        project: gcp.config.project,
      },
      { provider: gcpProvider },
    );
  });
};

const requiredServices = [
  "compute.googleapis.com",
  "workstations.googleapis.com",
];

const services = enableServices(requiredServices);

export default async function main() {
  const wsNetwork = new gcp.compute.Network(
    "wsNetwork",
    {
      autoCreateSubnetworks: false,
    },
    {
      provider: gcpProvider,
      dependsOn: services,
    },
  );
  const wsSubnetwork = new gcp.compute.Subnetwork(
    "wsUsCentral1Subnet",
    {
      network: wsNetwork.id,
      region: region,
      ipCidrRange: "10.128.0.0/20",
    },
    {
      provider: gcpProvider,
      parent: wsNetwork,
    },
  );
  const wsCluster: gcp.workstations.WorkstationCluster =
    new gcp.workstations.WorkstationCluster(
      "developmentCluster",
      {
        workstationClusterId: "test-cluster",
        network: wsNetwork.id,
        subnetwork: wsSubnetwork.id,
        location: region,
        displayName: "Test Cluster",
        annotations: {
          description: "Minimal cluster for testing",
        },
        labels: {
          purpose: "test",
        },
      },
      { provider: gcpProvider, dependsOn: services },
    );
  const wsMinimalConfig = new gcp.workstations.WorkstationConfig(
    "wsMinimalConfig",
    {
      workstationConfigId: "minimal-config",
      workstationClusterId: wsCluster.workstationClusterId,
      location: region,
    },
    { provider: gcpProvider, dependsOn: services },
  );
  const workstation = new gcp.workstations.Workstation(
    "test-workstation",
    {
      workstationId: "test-workstation",
      workstationConfigId: wsMinimalConfig.workstationConfigId,
      workstationClusterId: wsCluster.workstationClusterId,
      location: region,
    },
    { provider: gcpProvider, dependsOn: services },
  );
  return {
    wsCluster: wsCluster.name,
    wsConfig: wsMinimalConfig.name,
    workstation: workstation.host,
  };
}
Starting workstations
A workstation is created in a stopped state, so you are only paying for the attached disk and not the CPU/RAM yet. Whenever you’re ready you can start it from the UI or with the gcloud workstations start command.
Upon launching a workstation you receive a full-featured development environment powered by Code OSS.
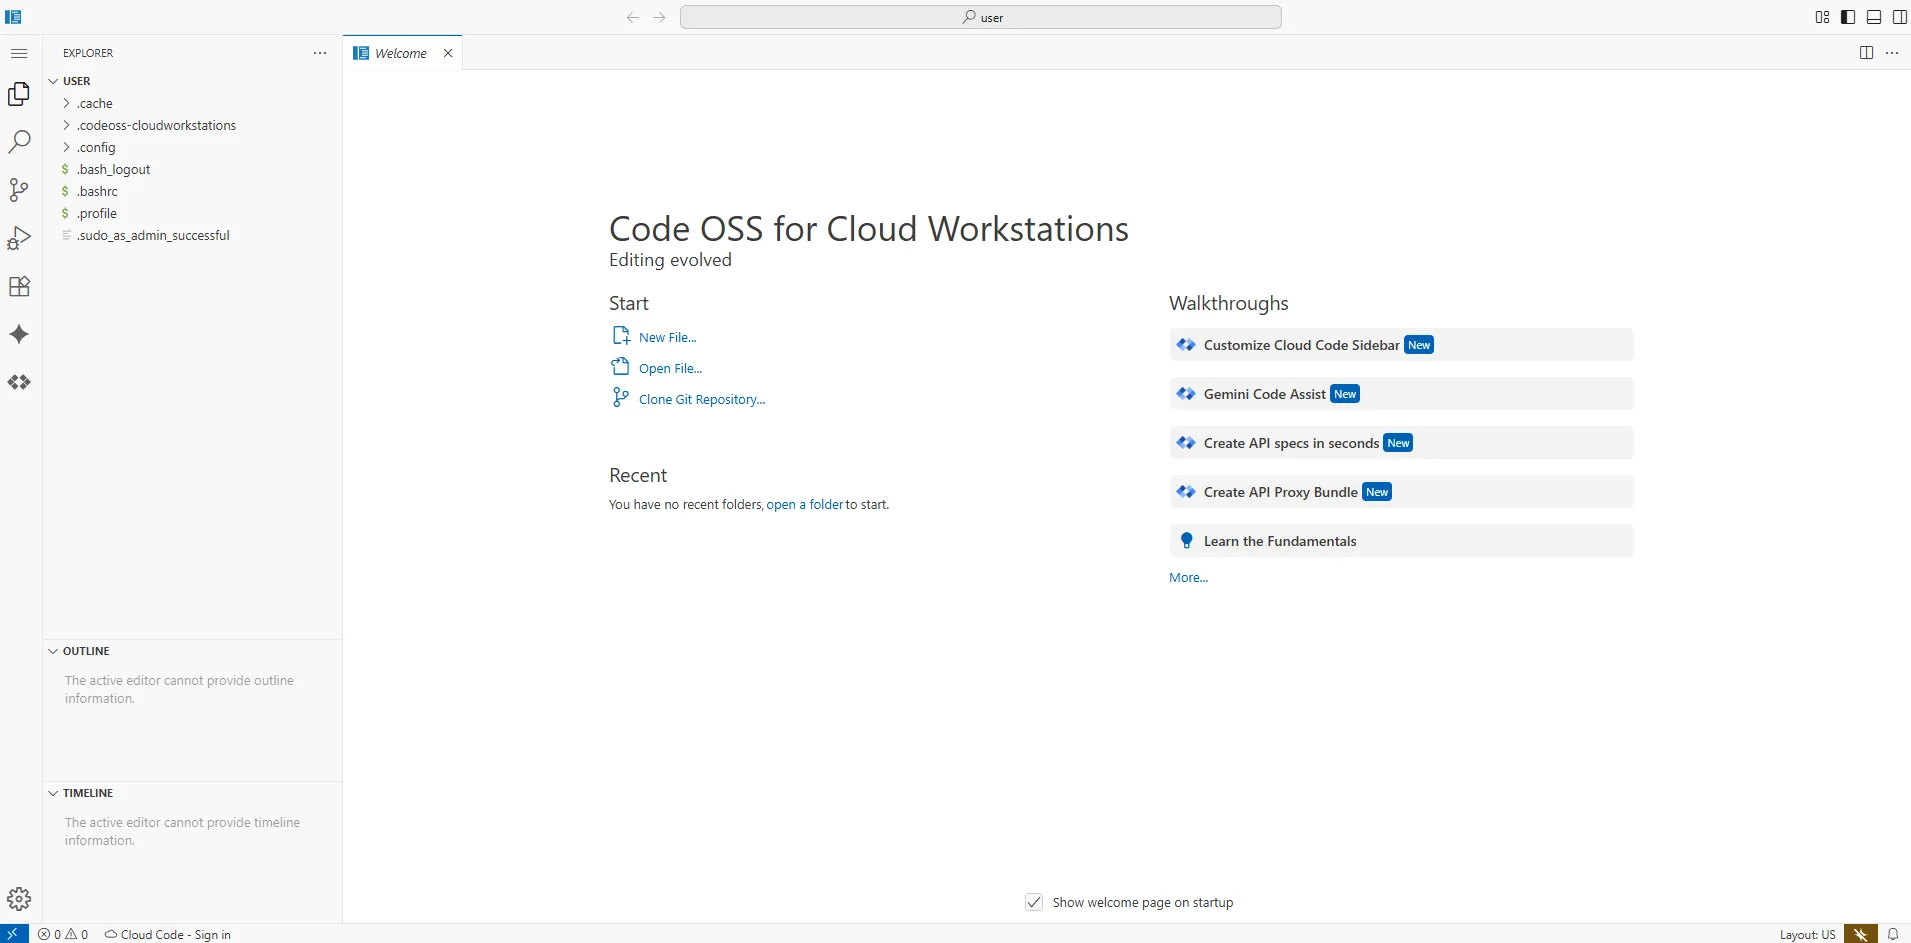
While being useful by itself, the biggest benefit of having cloud development environments, in my opinion, comes from making them your own, with a pre-configured set of tooling, extensions and access rights that suit you and your team the best.
We will cover the customization part of the Cloud Workstations setup in the next article.
Cleanup
If you want to delete the resources Pulumi created, just run pulumi down and it will take care of the cleanup.